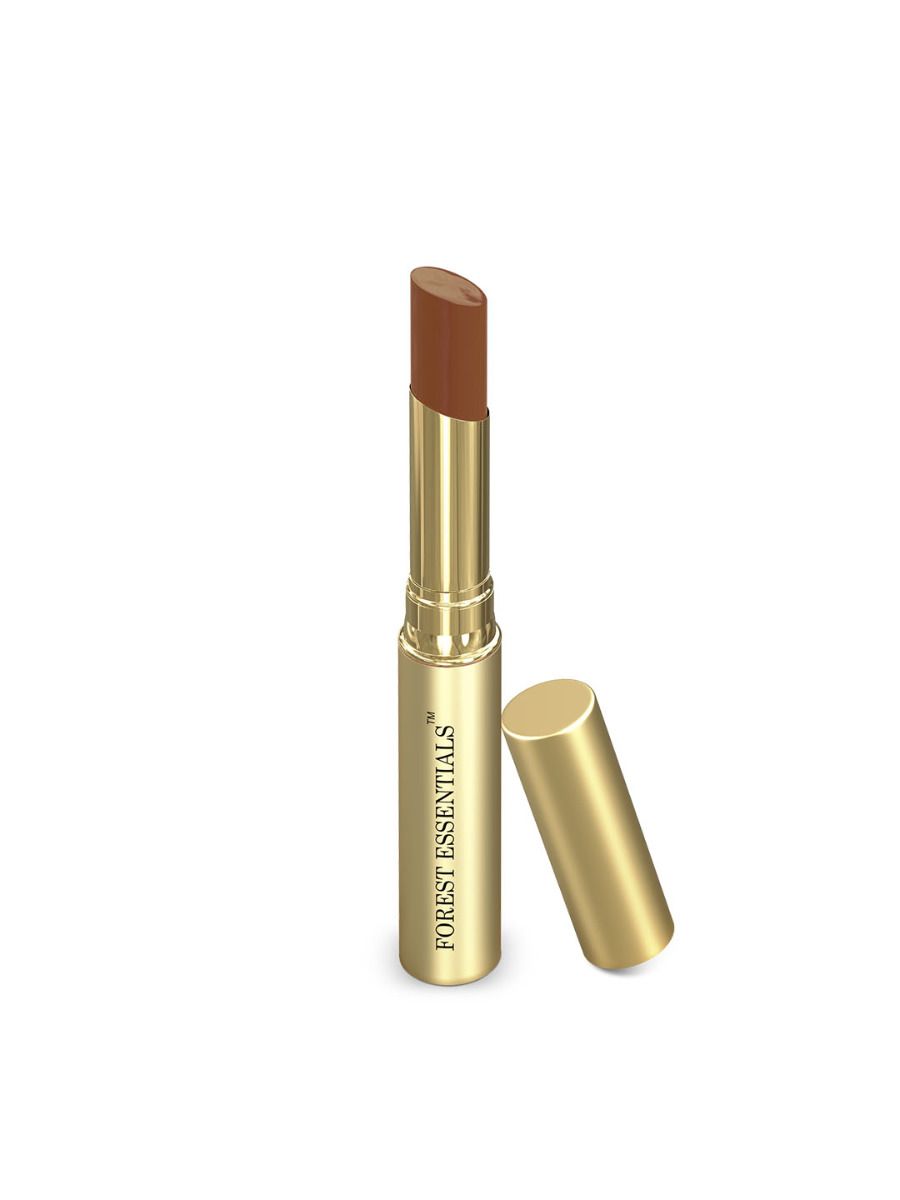
There are days when you drag yourself out of bed, hit the shower, slap on some sunscreen, and head out the door – easy, breezy, and au naturel. But then, there are those days (or nights) when you’re feeling a tad more adventurous, and want an extra dash of glam to your look.
Enter the smokey eye.
I mean, who can resist the allure of that smoky, sultry gaze?
And, we get it. The fear that you’ll end up looking more like a raccoon than a smoky-eyed seductress can be all too real. But not on our watch. We’re here to prove that anyone, and we mean ANYONE, can master the art of the smoky eye.
So read on as we break down the smokey eye makeup look step by step in a way that’s easy, fun, and impossible to mess.
How to Do Smokey Eye Makeup
Step 1: Prep & Prime
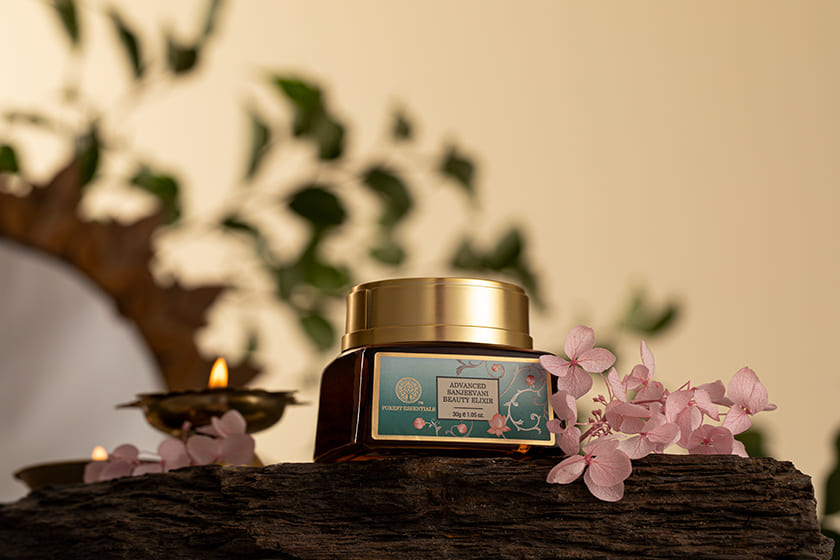
Begin by applying a thin layer of primer to clean, bare skin, paying special attention to your eyelids. This crucial step preps the skin to ensure that your eyeshadow remains in place for long.
The Forest Essentials’ Sanjeevani Beauty Elixir, a lightweight gel pre-moisturiser, works great as a primer. It evens out your skin for a flawless makeup base.
Step 2: Choose your Colour Palette
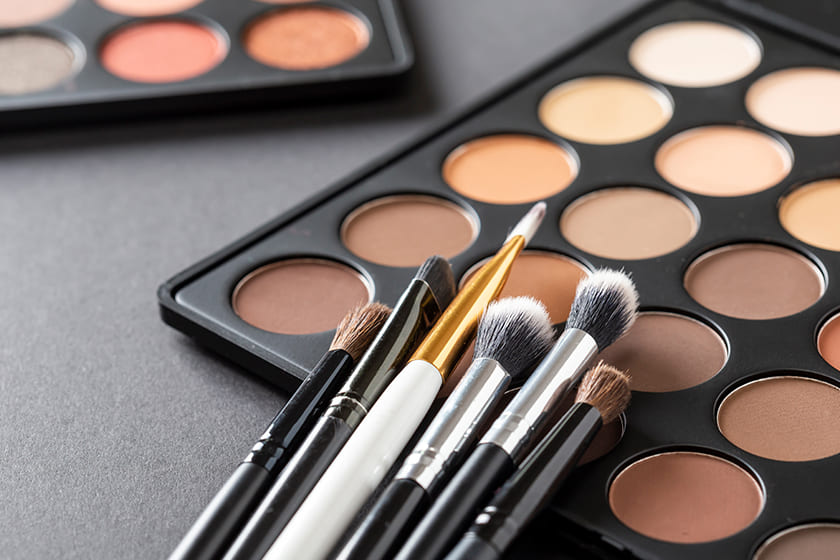
For beginners, it’s best to start with neutral eyeshadow shades like brown, grey, and black. These colours are forgiving and blend easily to create the perfect smoky eye makeup look.
Step 3: Create a Transition Shade
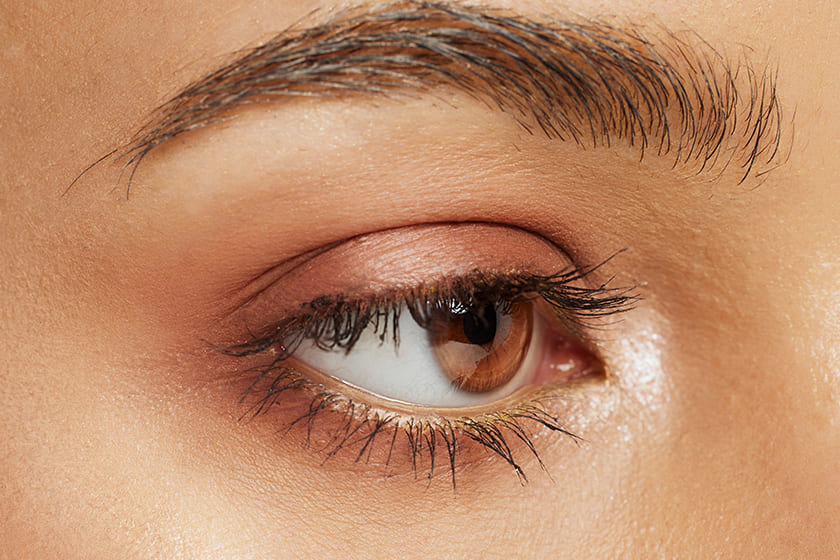
Using a fluffy blending brush, apply a medium-toned eyeshadow shade (usually brown or taupe) to your eyelid crease. This shade will act as a transition colour and make the blending process smoother later on.
Step 4: Build the Smokey Base
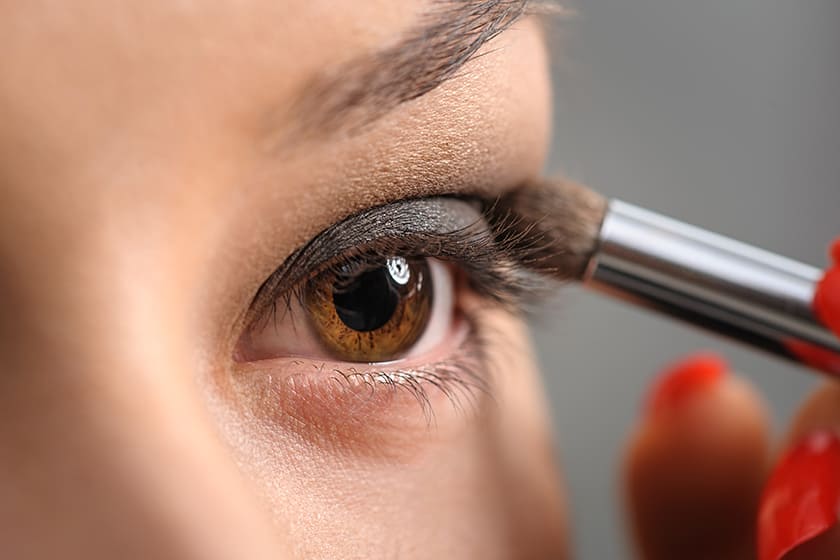
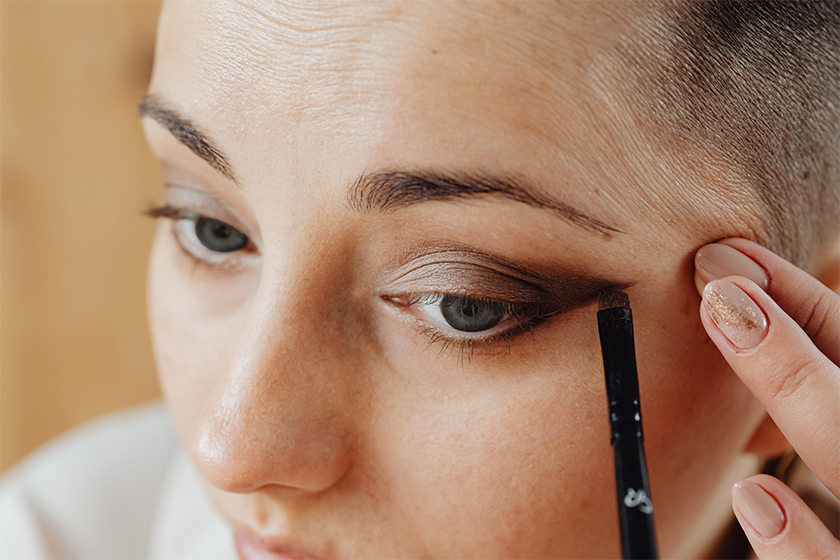
Now, it’s time to start building that smoky base. Using a flat brush, apply a dark eyeshadow (black, charcoal, or a deep brown) to your eyelid. Start from the outer corner and work your way in, leaving the inner third of your eyelid lighter.
Step 5: Blend, Blend, Blend

The key to a flawless smokey eye is blending. Grab your blending brush and blend the harsh lines between the transition shade and the dark eyeshadow. Keep blending until you achieve a seamless gradient.
Step 6: Define Your Eyes
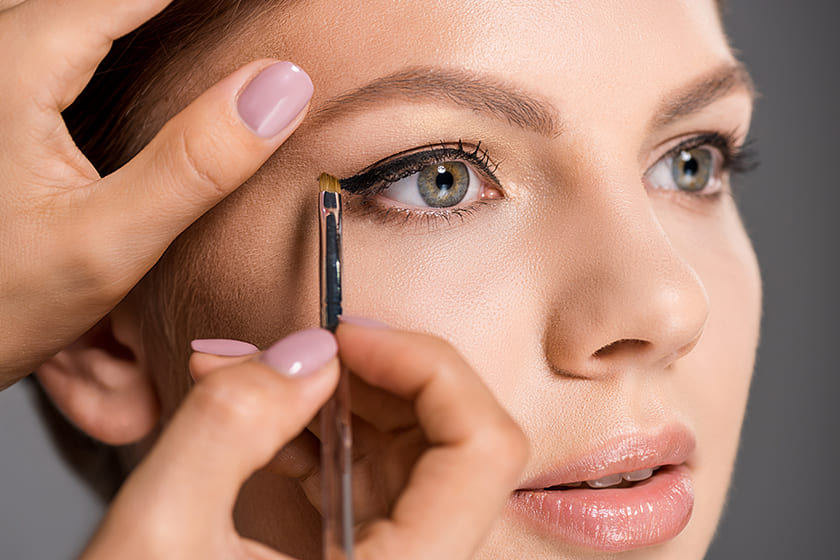
Next, line your upper lash line with an eyeliner or kohl pencil. You can use the Forest Essentials’ Gulaab Khaas Kajal in Charcoal Black for an intense smoky eye or the Earth Brown one for a softer look. Extend the line slightly beyond the outer corner for a subtle cat-eye effect.
Take an angled brush and gently smudge the eyeliner for a smokier appearance. This helps soften the line and enhances the overall smokey effect.
Step 7: Swipe & Groom

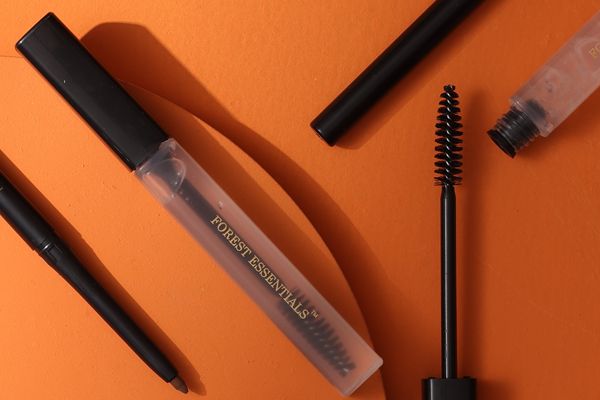
Elevate your smokey eye makeup look with a few coats of the Forest Essentials’ Nayantara Clear Lash & Brow Serum on your upper and lower lashes. This will give your lashes a fluttery, voluminous look.
To complete your smokey eye look, don’t forget to swipe the Lash & Brow Serum onto your eyebrows. This will groom, define, and tame any stray hairs, adding the perfect finishing touch.
FAQs
What is a smoky eye?
A smoky eye is a makeup technique that involves applying dark eyeshadows and eyeliner to create a sultry, smudged, and smouldering eye look.
What are the different types of smokey eyes?
While there’s room for creativity and experimentation with various colours and styles, the three most common smokey eye makeup styles are as follows:
- Classic Smokey Eye: Dark eyeshadows are blended around the eyelids to create a dramatic, smouldering effect. The classic or black smokey eye look uses black eyeliner and eyeshadows in shades of grey.
- Soft Smokey Eye: Subtle, lighter shades are used for a more understated, daytime-friendly smoky look. The brown smokey eye is a good example, achieved by using brown eyeliner and shades of brown eyeshadow.
- Colourful Smokey Eye: Instead of traditional neutrals, vibrant eyeshadow colours are used to create a bold and colourful smoky eye. The blue smokey eye is a popular choice for incorporating colour into the smoky eye look.
What are the best colours for a smokey eye?
The best colours for a smokey eye often include various shades of grey, black, and brown, as these create the classic and universally flattering smoky effect. However, depending on your skin tone and personal style, you can also explore colours like purples, blues, and greens to create a unique smoky eye look.
What are some tips for doing a smoky eye?
Some key tips to remember for achieving a flawless smoky eye makeup look:
- Start with a Primer: Apply a primer to create a smooth canvas and ensure your smoky eye lasts.
- Blend your Eyeshadow: Seamless blending between eyeshadow shades is crucial for a flawless smoky effect. Use a good blending brush.
- Layer Gradually: Begin with lighter shades and build up to darker colours to control the intensity of your smoky eye.
- Clean-up the Edges: Keep a makeup wipe or cotton swab handy to tidy up any smudges and maintain clean edges.
How do you make smoky eyes with Kajal only?
- Start by gently lining your upper lash line with the Kajal pencil. It doesn’t need to be perfect, as you’ll be smudging it later. Then, apply Kajal along your lower lash line as well.
- Use a smudging brush, cotton swab, or your fingertip to gently smudge and soften the Kajal lines. Move back and forth along the lash lines to create a smoky, smudged effect.
- If you want a more intense look, you can repeat the process by applying another layer of Kajal and smudging it. This will deepen the smoky effect.
Remember, working with Kajal alone can result in a softer and more natural smoky eye makeup compared to using eyeshadows.
References
https://www.elle.com/uk/beauty/make-up/a10006/how-to-party-smokey-eyes-quick/
https://www.vogue.in/content/how-to-create-a-smoky-eyes-makeup-a-beginners-guide
https://www.instyle.com/beauty/5-steps-perfect-smoky-eye
https://www.cosmopolitan.com/style-beauty/beauty/how-to/g3016/smoky-eye-how-to/


